Product number: HST35
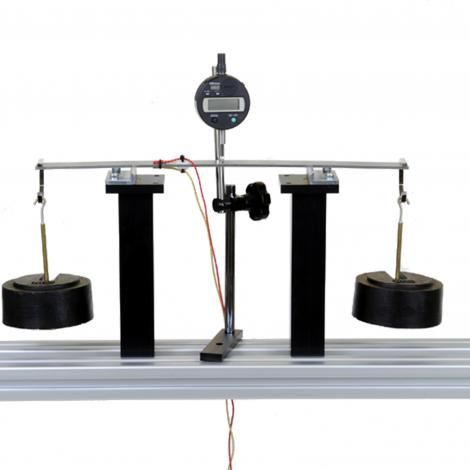
Two beam supports with either knife edge or clamp plate are set up inside the working area of the HST1 Universal Frame and Stand (sold separately) in order to carry five different strain gauged test specimens.
The first is a calibration beam intended to be put into circular bending by four point loading. Three cantilevers show the effect of different materials and a varying width. The fifth specimen is a hollow square section cantilever with an offset end load and strain gauges for bending and torsion.
The strain gauge outputs are fed into the HDA200 Interface (not supplied). A dial gauge on a moveable stand is provided with an output to the HDA200 Interface (not supplied). A set of weights and Load hangers is supplied as standard.

Specifications and resources
Steel specimen: 410(L) x 25.4(W) x 3.2(T) mm
Steel specimen: 270(L) x 25.4(W) x 3.2(T) mm
Aluminium specimen: 270(L) x 25.4(W) x 3.2(T) mm
Steel tapered specimen: 270(L) x 30 narrowing to 20(W) x 3.2(T) mm
Aluminium box section: 585(L) x 25.4(W) x 25.4(H) x 1.6(T) mm
Digital Dial Gauge: 12.7mm travel; 0.01mm resolution
Weights set: 2 x 5N, 4 x 10N, 4 x 20N, 2 x 50N

